Step 1: Create Your Google Sheet
- Go to Google Sheets and create a new spreadsheet.
- In Row 1, create columns for each field in your Unbounce form.
Name | Email | Phone | Message | Source Page | Timestamp
- Name the sheet something like Unbounce Leads – Website Form.
Step 2: Set Up Your Unbounce Form
Inside your Unbounce landing page:
- Drag and drop a Form element from the left sidebar.
- Add the fields you need: Name, Email, etc.
- Make sure each field has a Field Name (this will be important for mapping).
- Click on the form → “Form Confirmation” and select “Post form data to a URL” if you’replanning to send data via webhook (only for advanced method, not needed for Zapier).
- Save and publish your page.
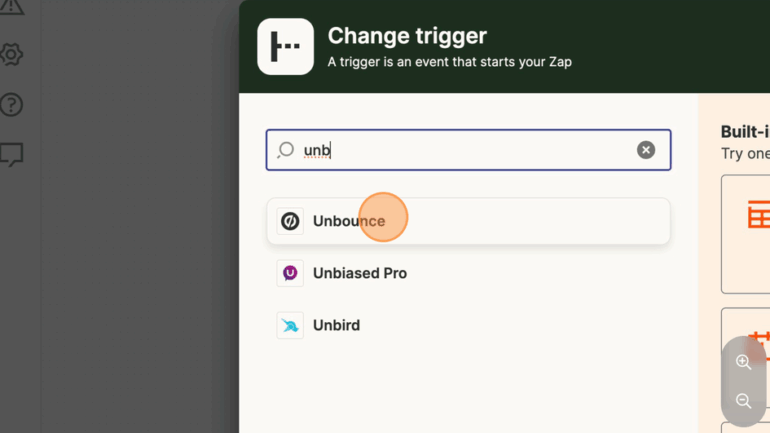
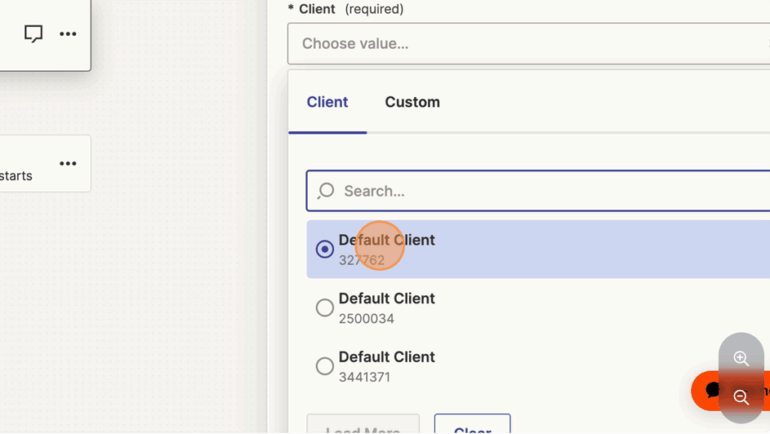
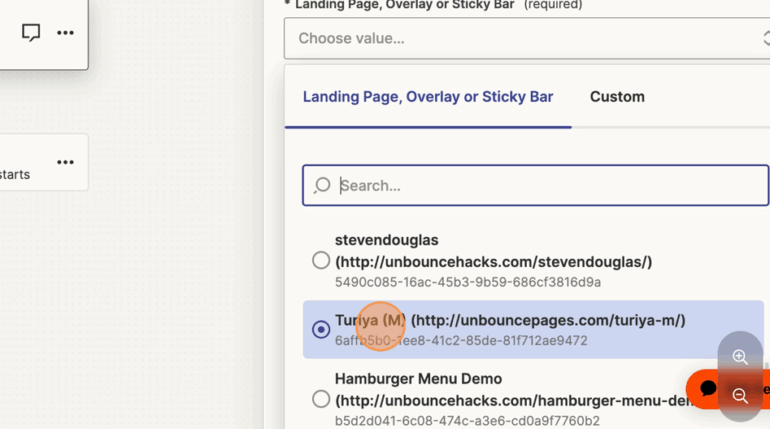
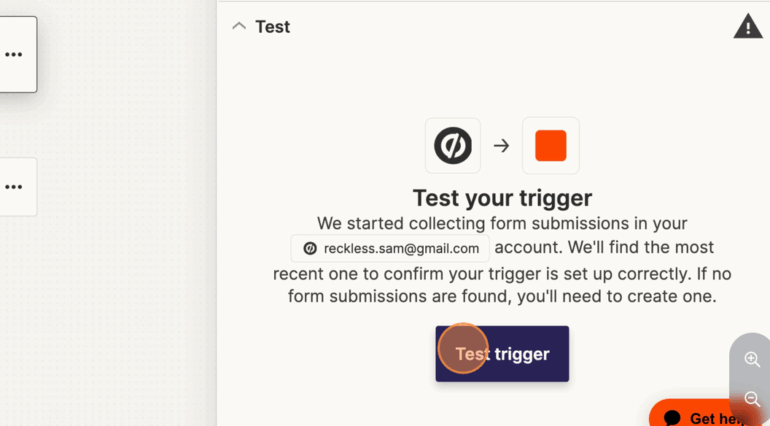
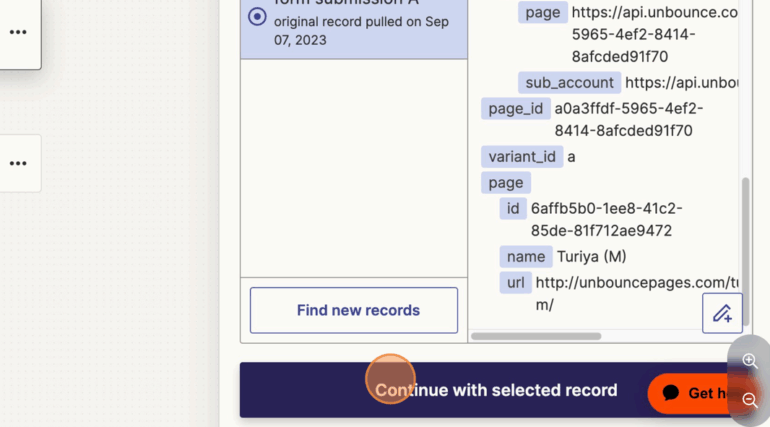
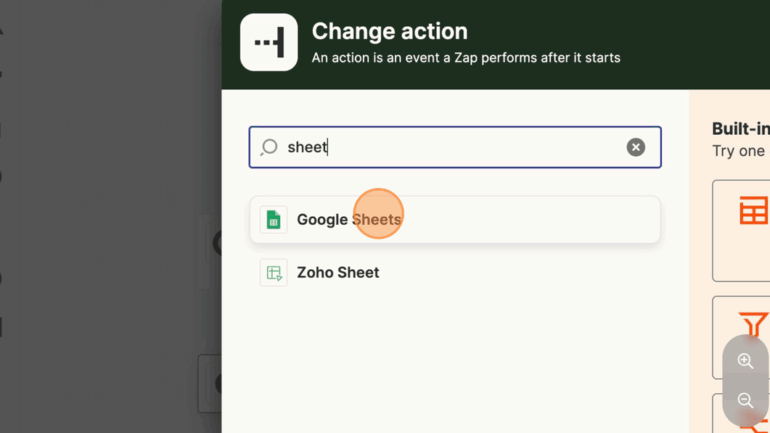
Step 5 : Choose “Unbounce”
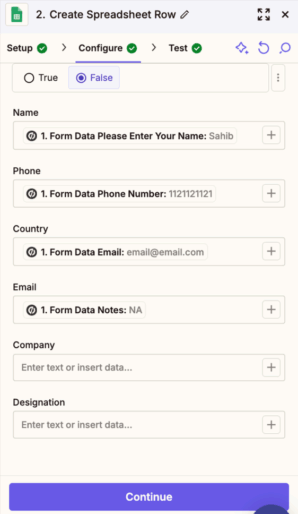
Example mapping:
Unbounce “First Name” → Google Sheet “Name”
Unbounce “Email” → Google Sheet “Email”
Add a field for “Page URL” if you’re tracking traffic sources
Optional: Add Filters or Email Notifications
You can add additional Zapier steps like:
- Filters (only send data if a field matches a certain condition)
- Gmail or Slack notifications for new leads
- Add to a CRM like ActiveCampaign or HubSpot
Common Use Cases
- Client Services: Keep client intake forms organized
- Webinar Registrations: Export attendees into a master list
- Newsletter Signups: Track growth across landing pages
- Lead Magnet Downloads: Store who downloaded what and when
Troubleshooting Tips
- Make sure form fields in Unbounce match the column headers in Google Sheets exactly
- (case doesn’t matter, but order helps).
- Zapier will only fetch new leads after the Zap is turned ON.
- Google Sheet should not have any fi lters or protected ranges.
Want This Set Up For You?
If you’re not comfortable connecting unbounce to Zapier or setting up Google sheets automation – we can do it for you.
We offer affordable, done-for-you Zapier and Google Sheets setup for Unbounce users- so you can focus on generating leads, not managing spreadsheets.
Reach out here: https://unbouncehacks.com/feedback


